29 November 2024
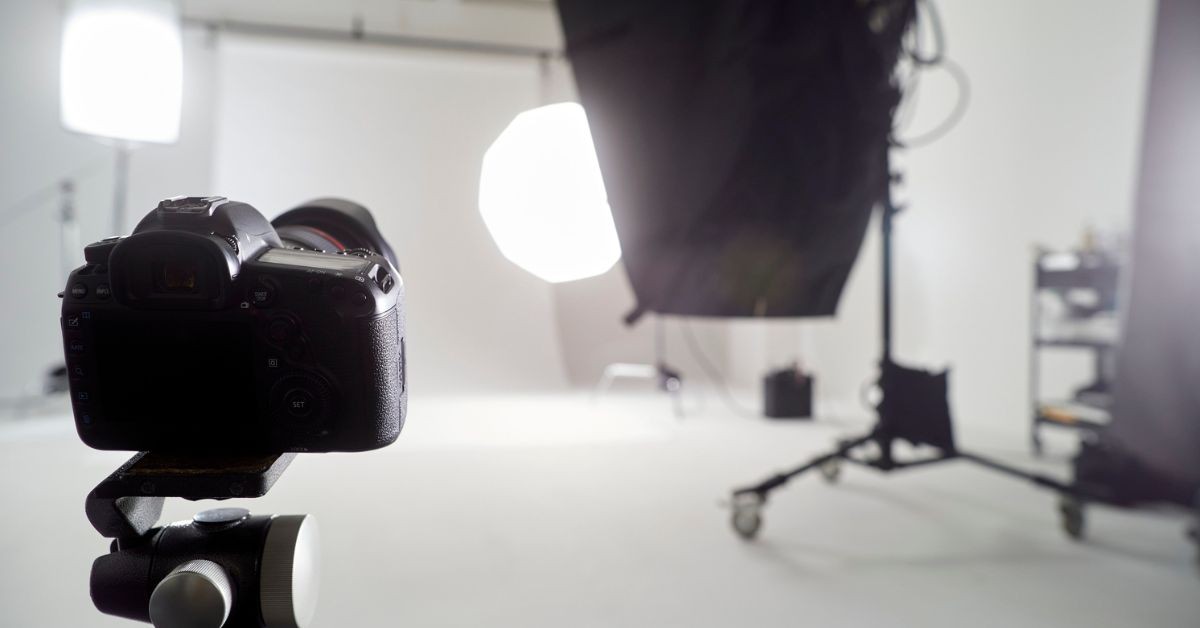
I am Raghav Aggarwal, focused on bringing the latest trends in digital photography to aspiring photographers and hobbyists. I work to build a team of experienced photographers dedicated to sharing their practical knowledge with young talent, helping them turn their passion for photography into a career.
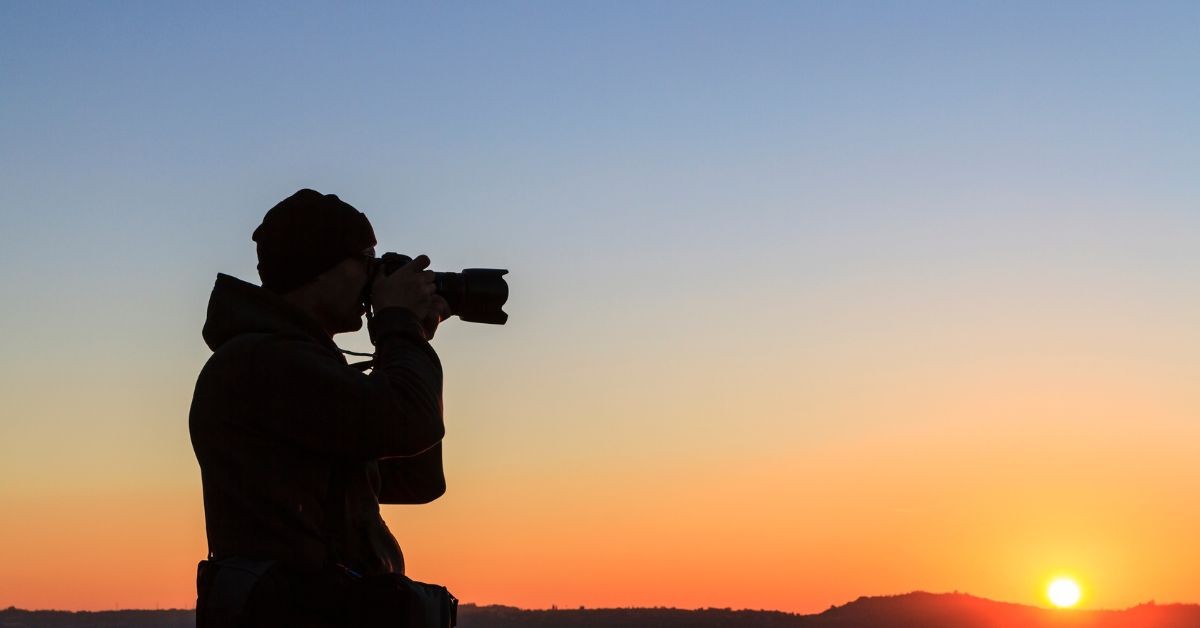
Doing night photography gives a different view of the world, wherein mundane reality gets transformed into visual stories that grab your imagination. Challenges enforced by low lights turn out to be amazing parties that translate into opportunities for being uniquely creative.
All the information explaining how night photography is different from daytime shooting will be given in this blog, which will help you pose, provide ideas, and provide captions so as to increase the quality of night photos.
Night photography is a rather different art from anything else in the world. Technology with aesthetics in a pot is the best recipe. It could be really alarming in the dark, but simultaneously, the light is the painter, and night gives the artistic outlook.
With the advancement of camera and editing technology, it is not hard in any way to get great night photos. Everyone can explore photographing at night regardless of whether he is a beginner or a master.
This sheer abundance of light makes daylight photography easily accessible. In contrast, while day photography thrives on brightness and arresting details, the night darkness opens a contrasting world where shadows, darkness, and the play of artificial lights come alive.
The only difference will come in the approach between day and night photography. Day photography gets the sun to shine, but only minor settings will be required on the camera. In night photography, you have to create light and make use of any avenues, such as streetlights, neon lights, or the moon. For creatives, that is where it comes alive in blurring and shadowing.
Therefore, night photography is all about letting more source lighting into lagging shutters. Ask for lenses and stabilization, and appreciate using daylight differently from the other. In either event, such artistic machinations, when it comes to the exposure and the brightness of the light, may then lead to more interesting captures, so adding softness or smoky moods with a longer shutter setting works out perfectly for night photography.
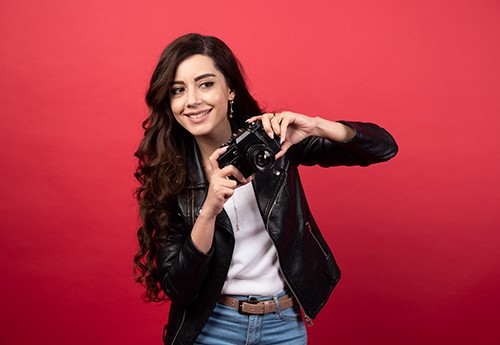
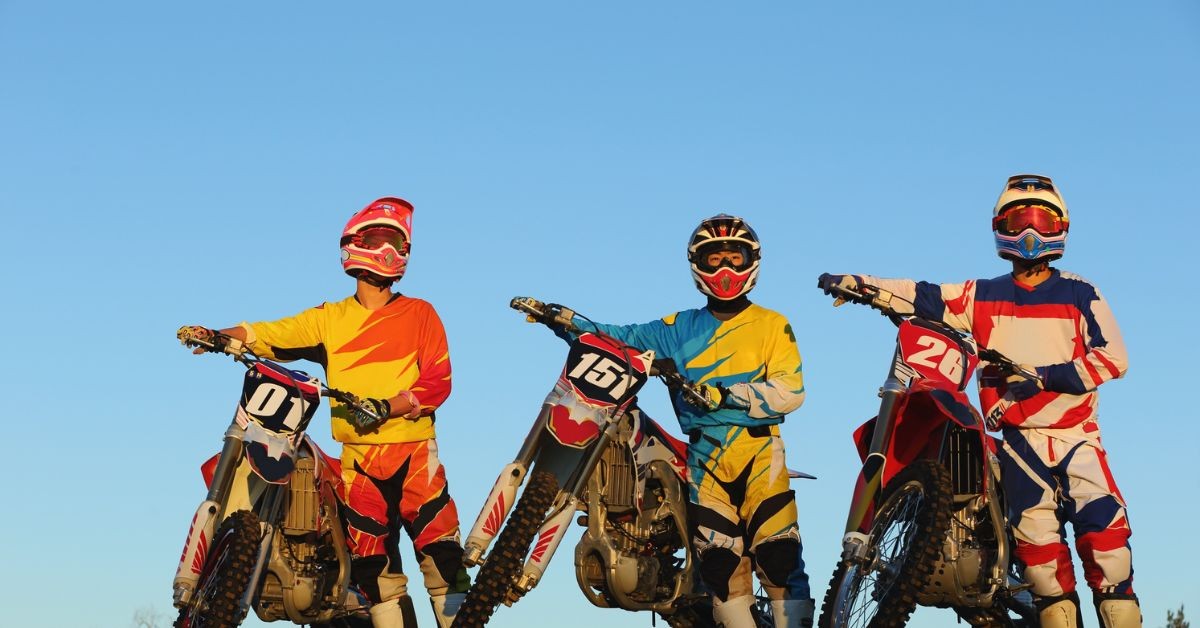
Also Read: - Best cameras for portrait photography
Just imagine capturing the perfect night shot. The most important aspects you need to bear in mind are as follows.
Night photography is a particular creative opportunity as you have endless chances to think. Below are some ideas to tickle your imagination:


Try using live motion for dramatic scene improvements where you, for example, follow or pan individuals walking on light street paths or vehicles passing by. Motion, as well as no motion, gets your viewer accustomed to compositions that would be very appealing to the eyes aesthetically.
Building on the tips we have spoken about, you can improve the night photos you take:
This gives the scenes from a different perspective. Shooting at low angles has the effect of dramatizing the lighting in the city centre. The broader view is provided with a higher aerial shot.
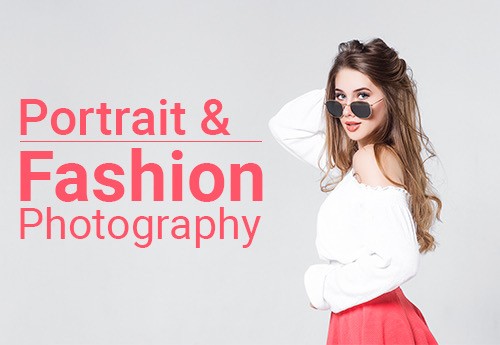
Also Read: - Fashion Photography Tutorial: 12 Tips for Beginners
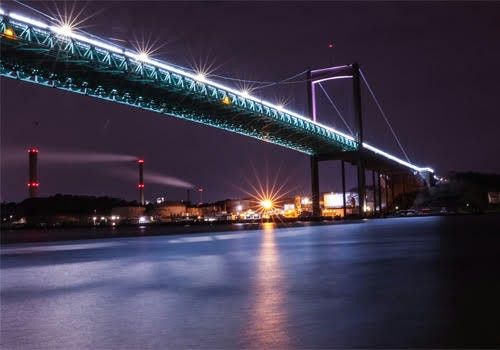
Night road photography offers photographers a mix of challenges and opportunities. However, some techniques and creativity have to be employed, especially when it relates to capturing the interaction between moving vehicles, illuminated street lights, or beautiful urban landscapes. Here are some tips on how to take those breathtaking night road photos.
Using a tripod to stabilize.

Night photography needs a stable base, especially when taking light trails and cityscapes. A tripod will minimize the camera shake, and once that happens, images will not blur out because of long exposure settings. Add a remote shutter release or timer function on the camera for added stability.
Adjust Night Photography Settings
Camera settings are essential to night road photography. Low ISOs, usually between 100 and 400, are necessary for avoiding noise, and the aperture is narrow as well to allow for a greater depth of field between f/8 and f/16. Shutter speeds would be long; usually, these are between 5 and 30 seconds, with the goal of wanting smooth, light trails and vibrancy of the city lights.
Light Trails

Moving cars create beautiful light trails that give dynamism to your photos. Look for a vantage point with a clear view of the road. Set your camera to manual focus and pre-focus on a spot where the vehicles will pass so that they will be sharp. Experiment with different angles and compositions to enhance the visual impact of the trails.
Cityscapes
Night road photography is always much better if it involves some cityscapes with it. Glowing buildings, neon signs, and bridges add context and depth, so use roads or light trails as leading lines to lead the eye of the viewer into the scene.
Capture Reflections and Wet Roads

Rainy nights create an amazing opportunity to provide drama to your frames. Wet roads reflect the glow of street lamps and car headlights, providing good brightness and an ethereal scene. More reflections can be added by shooting from low angles and getting puddles or wet surfaces in the frame.
Try Motion Blur
Motion blur can also be used to give a sense of movement and energy. Use slower shutter speeds to blur moving vehicles while keeping the background in focus intentionally. This is an effective way of capturing the hustle and bustle of urban nightlife.
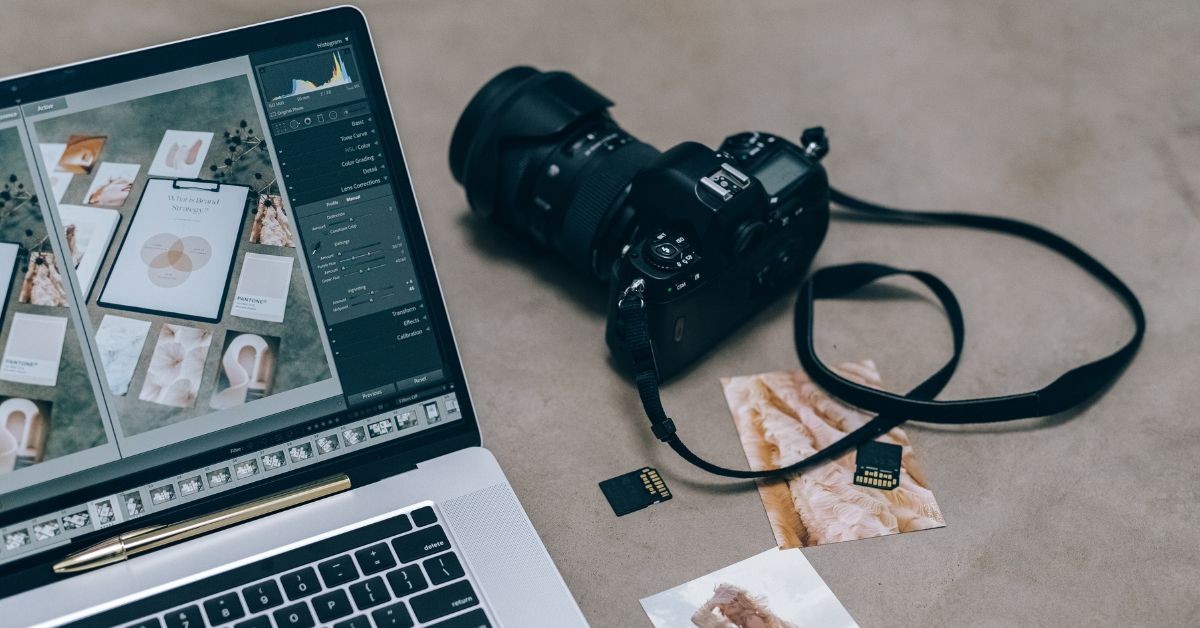
Post-Processing Tips
That would really enhance night photography post-processing. Use some editing software that will adjust brightness, contrast, and colour balance for better enhancement of light trails. Increase the vibrancy of lights while sharpening details in shadows, making sure not to overexpose highlights.
Here are some ideas for captivating night pictures you take:
Night photography is a fine art that has a flavour of technicality and creativity. Feel such limitations, experiment with the new, numerous, and untried techniques, and capture that night's magic through your lens. Only through a journey of self-limit testing and experimentation can you discover the infinity that can offer night photography. Share your favourite shots and personal experiences with night photography to inspire others to explore this wonderful world of photography.